 Skip to content
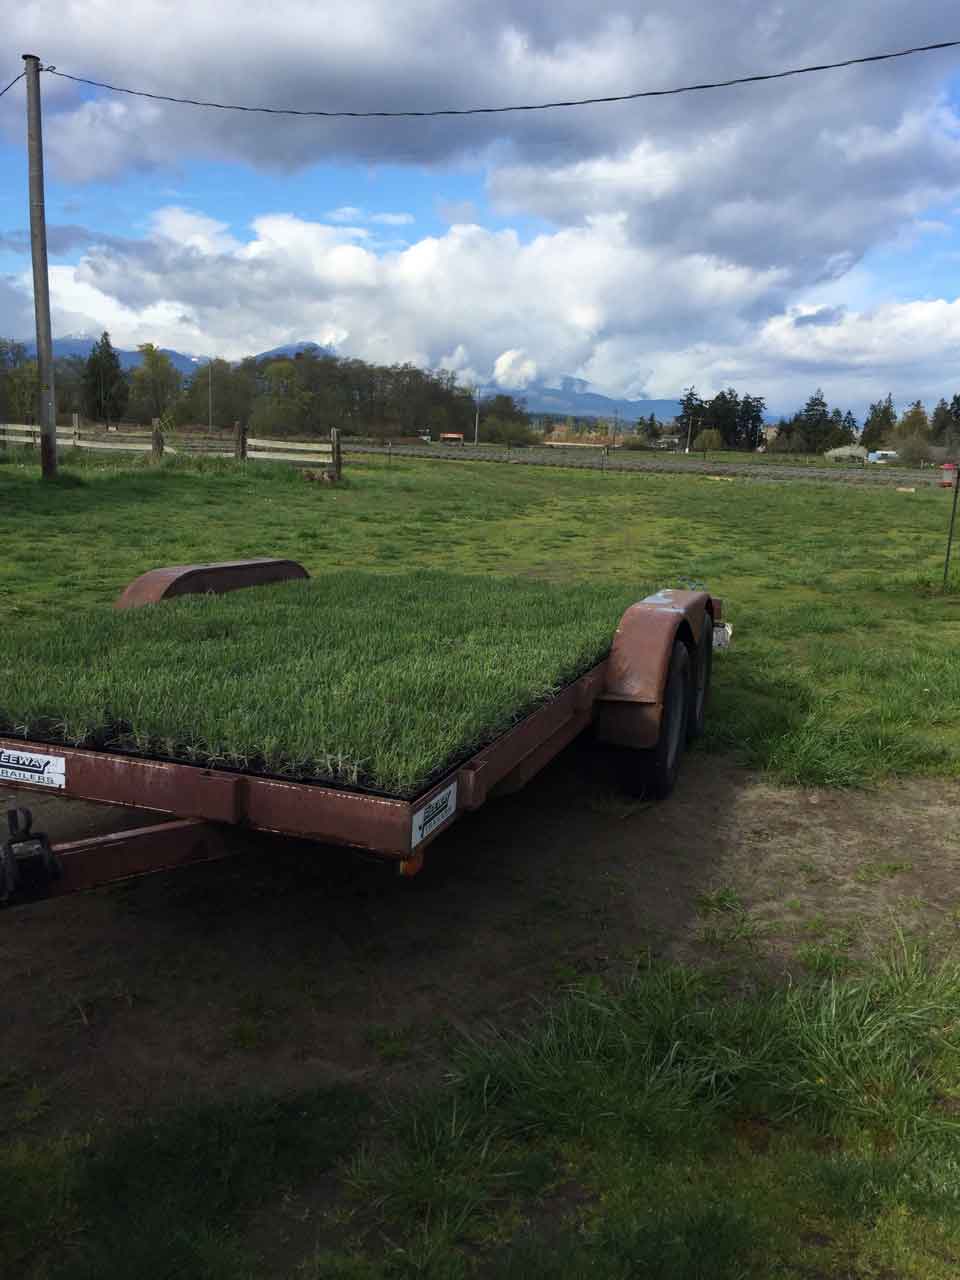
 Lavender is a perennial plant in the Lamiaceae family, also known as the mint family. Many of our favorite smelling herbs come from this family, lavender, mint, and rosemary to name a few. Like most plants in this family, lavender loves dry and well-drained soil conditions with mild temperatures. These ideal conditions are why Sequim is considered the capital of lavender here in the United States. Sequim sits in the rainshadow of the Olympic Mountains. Along with our mild temperatures we get about as much rainfall as Los Angeles, California. Thus, the Sequim climate is ideal for growing any variety of lavender.
If you are only planting a small number of plants a soil test may not be necessary. The general overall rule is plant lavender in a well-drained area away from sprinklers, drain pipes, etc. Make sure the soil is close to PH neutral. Other than that lavender does not need much fertilizer. A little compost goes a long way.
However, If you are planning on planting a lot of lavender it is critical to get a soil test. We use our local conservation district for our soil tests. The tests cost $20 and provide farmers with a wealth of information. With this soil test, you can add amendments to ensure your soil is in ideal shape for planting lavender. See our soil test from our 2019 planting as an example of what these test results look like.
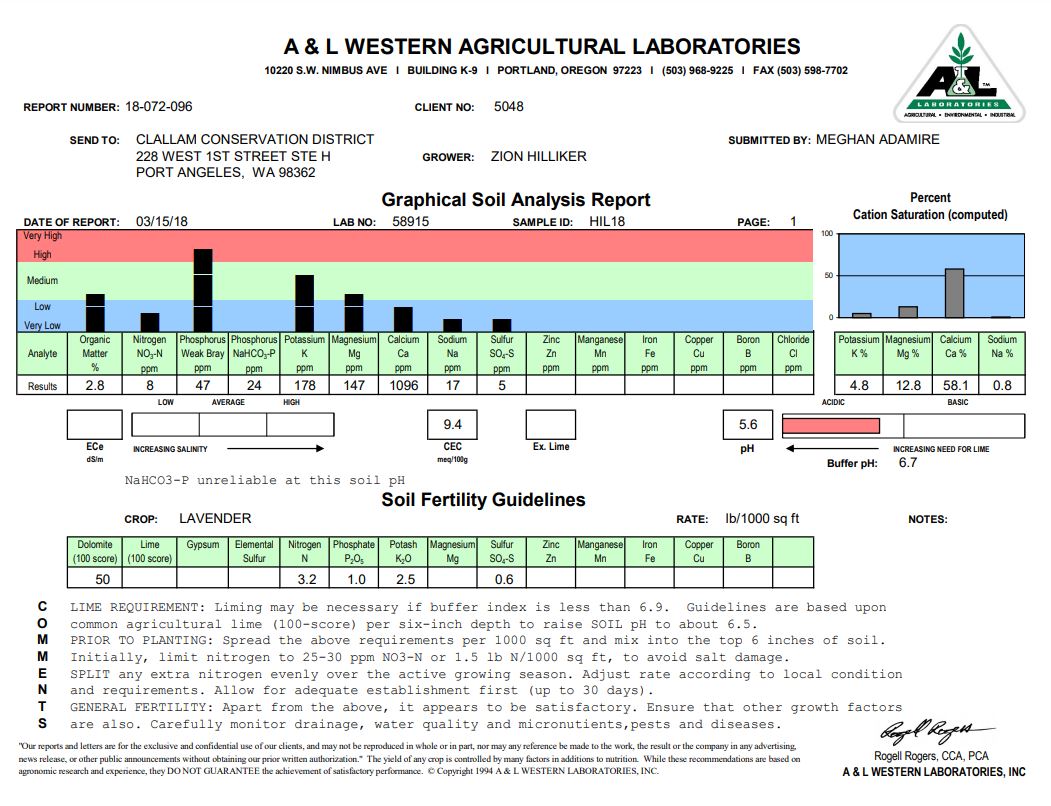
Luckily lavender is fairly easy to grow. However, your soil test will provide some critical information. First, make sure your PH is near neutral. If your PH is within a point plus or minus of PH 7 you will be fine. However, as you will see on our test, our soil tends to be acidic. So we must amend our soil with limestone to raise the PH of the soil to 7. The great thing about these tests is they provide the lbs per 1000 sq ft needed for adequate amendments. This information makes it easy to calculate how much of each amendment is necessary. Limestone is easy to spread into a field and is water-soluble so it will soak right into the soil after a rainfall. Next, you will want to check your nitrogen content. This key ingredient to growing any plant is critical. However, lavender does not need a lot of nitrogen. So if your Nitrogen is low you can easily amend with compost or even mix a handful of compost into the hole where you plant your lavender starter. Finally, you will want to check your phosphorous content on your soil test. Most of our land in Sequim is old dairyland and contains high amounts of phosphorous. Thus, no amendments are needed for phosphorus. However, if you are low on phosphorus you can easily amend your soil with a handful of bonemeal in the hole where you plant your starter lavender plant. Be warned, birds and animals can smell the bone meal. You may find a plant or two dug up. In this case, simply replant your starter plant.
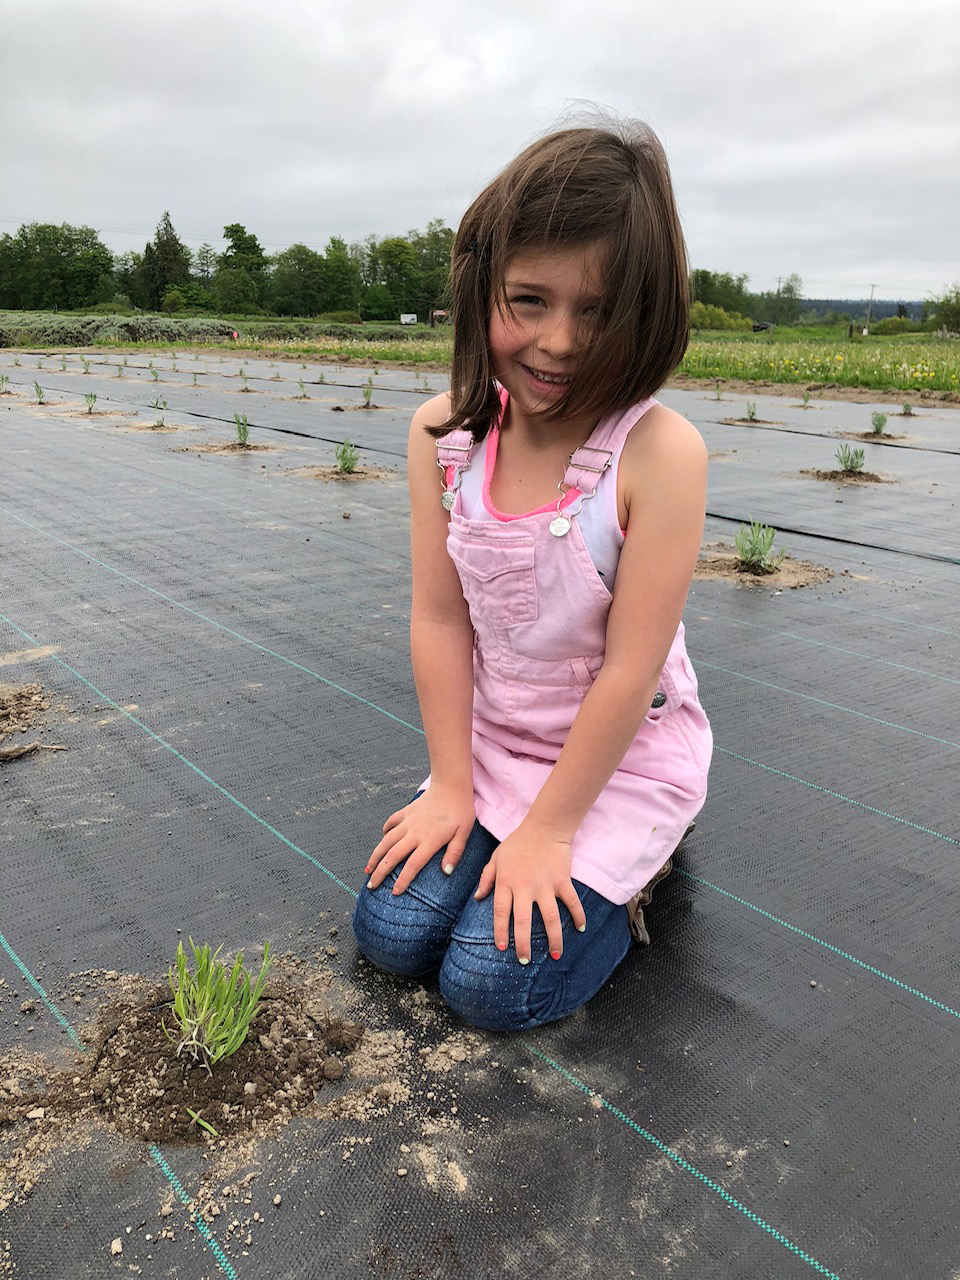
Do I plant lavender from seed or a starter plant? This is a great question. Lavender is extremely hard to grow from seed. Furthermore, due to cross pollination a lavender seed will almost never be the variety that you are expecting. Therefore, I highly recommend using lavender starter plants. Moreover, I would use 2″ or 4″ starts. I would avoid using plugs if you do not want to replace a large number of plants in the near future. We can get approximately 3000 plants on an acre. Of those 3000 plants, we will typically lose a dozen plants in the first few months with 2″ starts. With plugs, plan on replanting 20-30% of your plants. We proudly buy all of our lavender plants from Victor’s Lavender. Victor provides close to 500,000 lavender plants to farms all over the world each year. He is a great guy who knows how to propagate lavender properly and also is a great source of advice for large wholesale customers.
For a guide on which varieties to grow please see the lavender varieties we grow here on our farm.
Again, if you are only planting a few plants you can stick your lavender plants in your garden bed or planter box. In General, keep plants 3′ apart in a row and rows 6′ apart. Larger lavandin plants like Grosso, Super, and Hidcote Giant can be planted further 4-5′ apart.
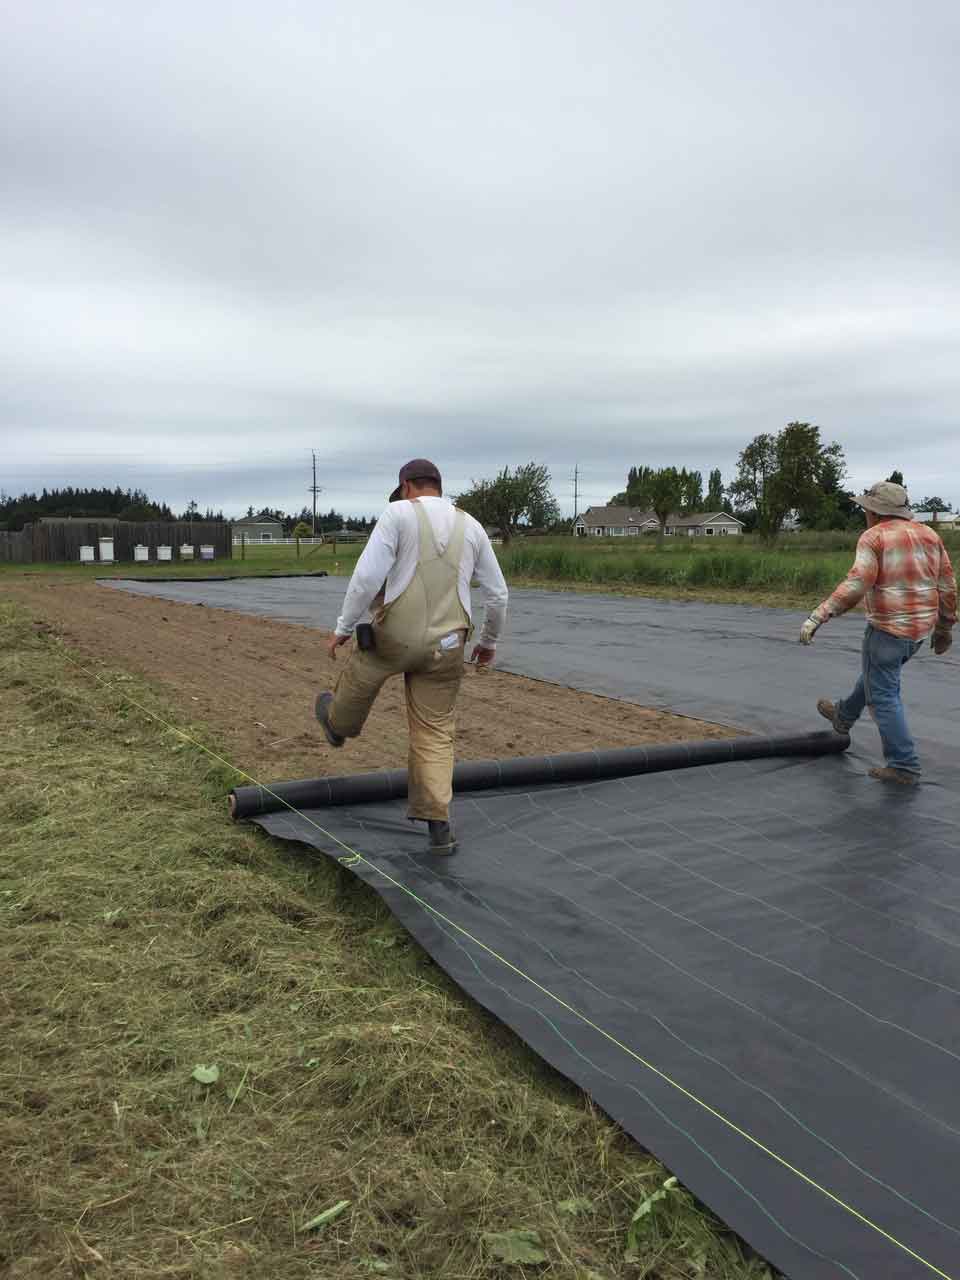
If you are planting a large field of lavender we recommend using a weed barrier. We use a very high-quality weed barrier which we layout on our field using a 6″ overlap per row. We have very high winds so we use custom made 12″ staples we purchase in Seattle. In less windy areas, a short 6″ staple will do. Next, we mark the rows on each end using a long 300′ tape measure. Then, we mark where each plant will go using chalk or spray paint. Finally, we use a propane torch fitted with a metal plate to burn holes where each plant will go. Melting holes keeps the ground cover from fraying.
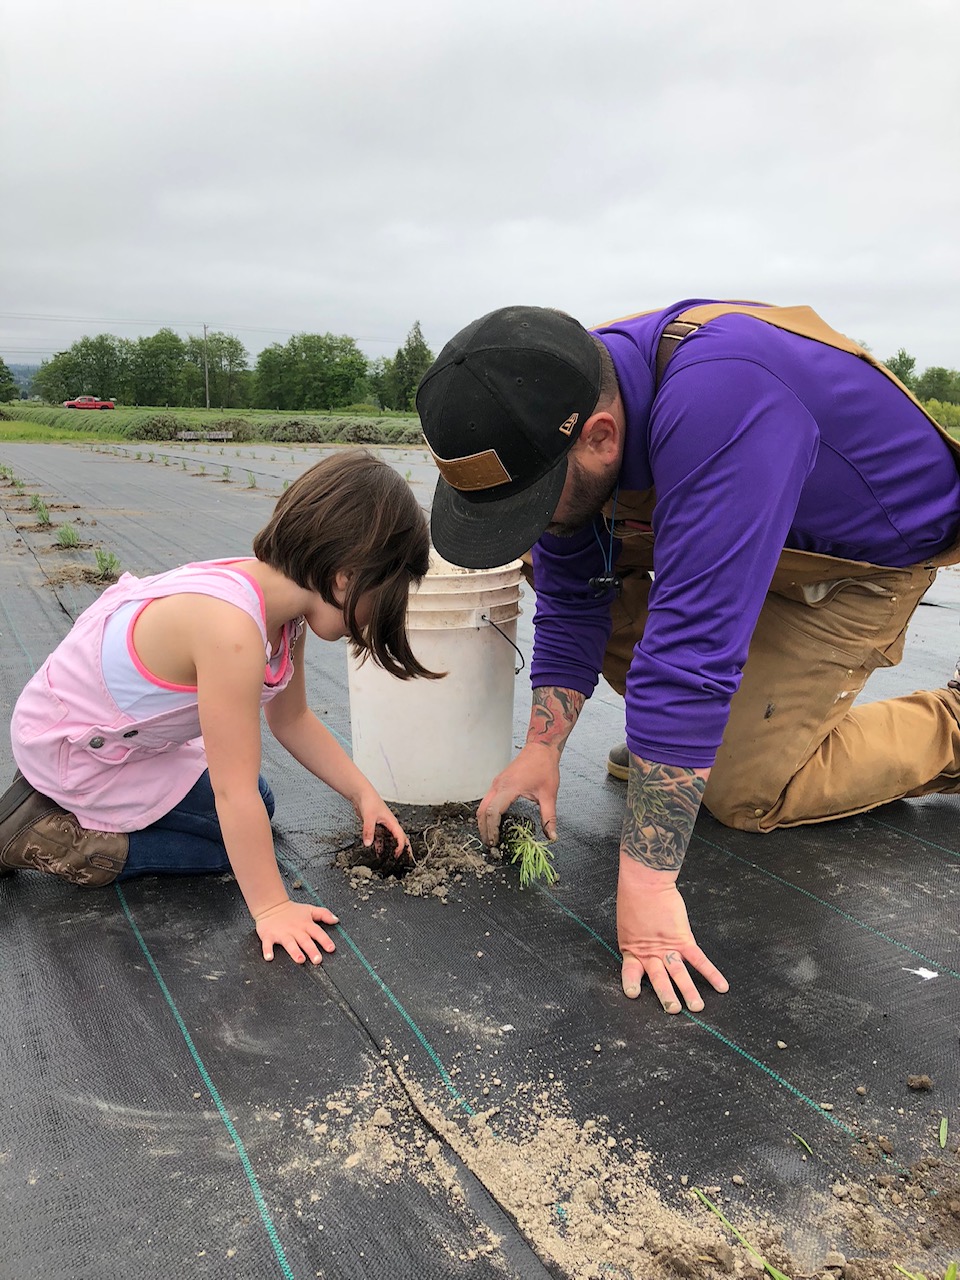
Now that we have the soil amended, grand cover laid, and the holes marked and burned we are ready to plant. A normal spade trowel will work for a small planting, but for a larger planting, we use a bulb auger. When we are planting thousands of plants a bulb auger connected to an electric drill and a generator work great. We go by each hole and use the auger to loosen the soil. If you are going to plant over multiple days we recommend only augering the holes you plan to plant that day. If you auger them all the soil left on the plastic can dry out and become rocky and chunky which makes it hard to fill back into the hole. Once you have a hole with loose soil you can add a handful of compost and bone meal (if necessary to each hole. Backfill the hole with the soil amendments and soil removed from the hole enough so when you place your 2″ lavender plant in the hole the top of the soil from the plant sits slightly above the ground. Once the plant is in the ground, fill your hole with the lavender plant with removed soil around the hole. Push the soil back into the hole firmly. Make sure the plant is solid in its new home. It should feel firm, not soft, around the plant.
The first year we recommend letting your young lavender plant focus on root growth. Thus, we recommend trimming any stems that shoot up with a bud. We usually trim our plants in the Spring and Summer once a week. Once you have your first hard frost you can stop this process. Luckily, you will not need to trim the lavender after the first year. Once the second spring arrives, be sure to keep the plant weeded. Weed barrier works wonders but the plants are still small at the beginning of their second year. Therefore, weeds may still peak up around the plant. Be sure to remove weeds and check the plant weekly. By the end of the summer, your lavender plant will be large enough that only occasional spot weeding will need to take place.
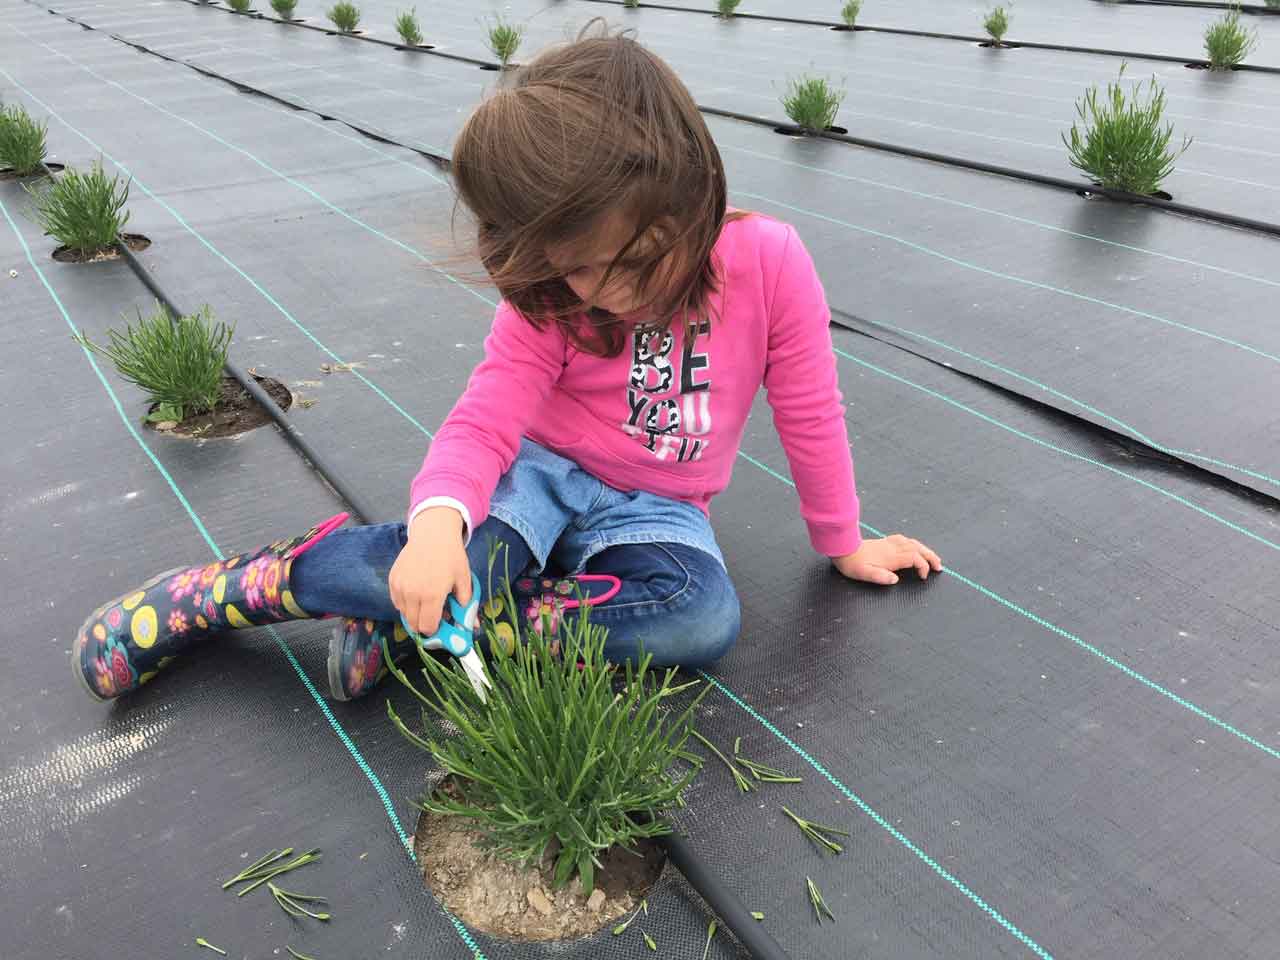
Lavender is a remarkable plant. If you keep your plant trimmed the first year, by the second summer you will be harvesting 3 to 5 handfuls of lavender per plant. We use harvesting sickles to harvest our lavender. These tools work great because they are serrated and extremely sharp. Use caution and gloves! You can get some nasty cuts with these tools. Since most of our lavender is harvested for drying we cut each bunch about the size of a circle made with our thumb and pointer finger. If you have large hands make the bunch a little smaller. We wrap each bunch with a rubber band wrapping it three times around to ensure it is tight but not bending and deforming the stems. When cutting your lavender be sure to stay an inch or two above the woody growth of the plant. DO NOT cut into the woody part of the plant. This could permenately damage the plant depending on your variety.

We have a lot of great information on how we dry lavender here. Essentially you want to dry lavender upside down in a dark, dry, and warm place if possible. You can also distill lavender to extract it’s an essential oil that we explain in how to distill lavender here. There are many uses for lavender. Please visit our shop to see how we use lavender here at our farm. Best of luck!

Zion Hilliker is an award winning essential oil producer at B&B Family Lavender Farm and is an IPF certified natural essential oil producers that adheres to the New Luxury Code.